Surround Mesh Editing
From WiCWiki
|
- by Gozeus
This tutorial shows you how to create a set of surround meshes for a map in WiCEd without using any 3D modeling software. It is assumed that you are familiar with both WiCED (World in Conflict Map Editor) and Photoshop. It involves exporting the heightmap of your map into Photoshop, copy and pasting it around the edges, then editing each individual surround mesh piece in WiCEd. You can create a surround mesh using only Photoshop, but this technique helps visualize what you are editing.
Programs you need:
- World in conflict map editor (WiCED)
- Photoshop (or something that can open raw files)
Other Useful Tutorials:
An in depth tutorial on Surround Meshes (highly recommended): Surround Meshes (Advanced Tutorial)
Getting Stuff Ready
Before you start on the surround mesh its a good idea to have the terrain for your map finished (or at least the parts connecting to the surround mesh), otherwise if you decide to change it, you'll have to do the surround mesh again.
So once your terrain is finalized, save the map and exit WiCEd (Unless your computer can handle running WiCEd and Photoshop at the same time).
In Photoshop
Heightmap Import
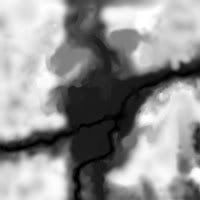
Open your map's HeightMap.raw file in Photoshop. It should be located here:
C:\Program Files\Sierra Entertainment\World In Conflict Editor\maps\YOURMAPNAME\HeightMap.raw
Import it into with raw settings:
- Width:513
- Height:513
- Channel count: 1
- Depth: 16 bit
- Byte Order: IBM PC
- Header size: 0
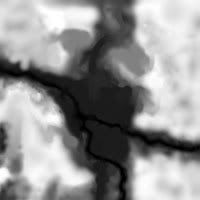
If you've done it right it should look something like this:
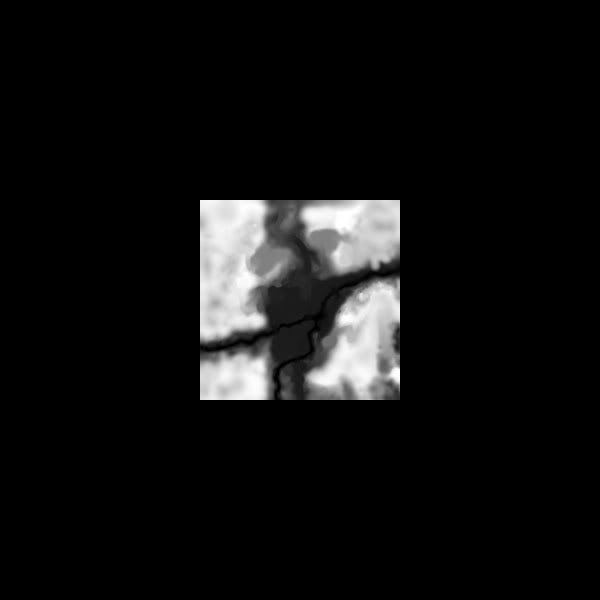
Save this as a raw called "surround_heightmap.raw" or something similar and use these settings:
- Header: 0
- Byte Order: IBM PC
Creating the Surrounding Heightmaps
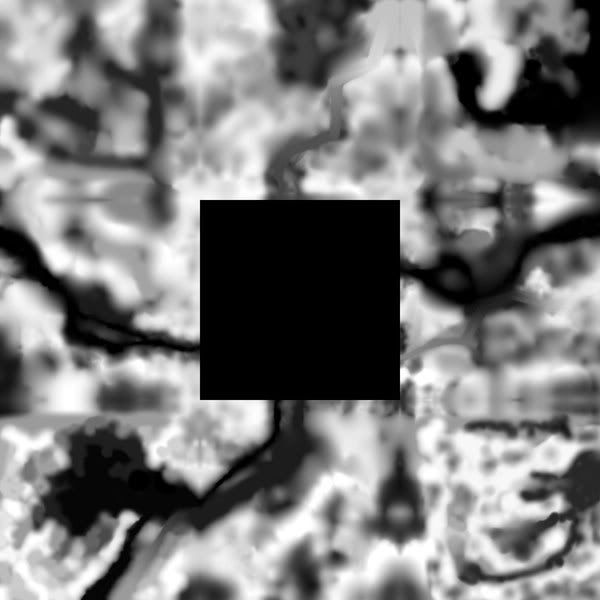
Increase the canvas size to 1539x1539px (513*3).
Copy and paste the heightmap around the outside, flipping horizontally and vertically as necessary to line up with each other.
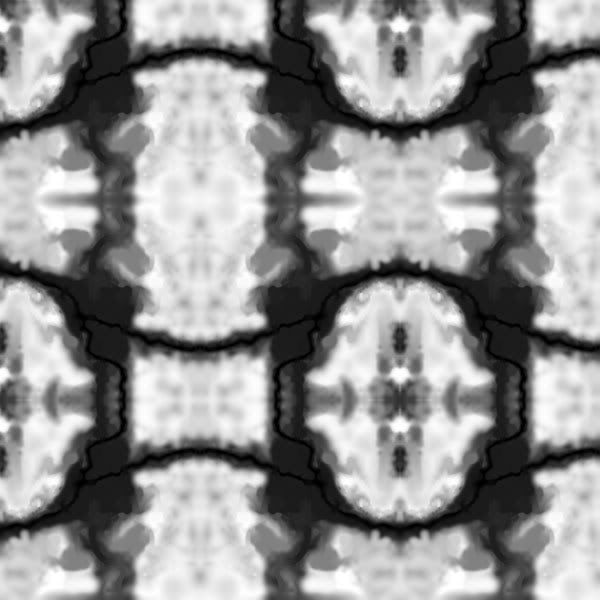
Save each of the surrounding images as raws (using the same settings as before), naming them similarly to what's shown.
In WiCEd
New Map
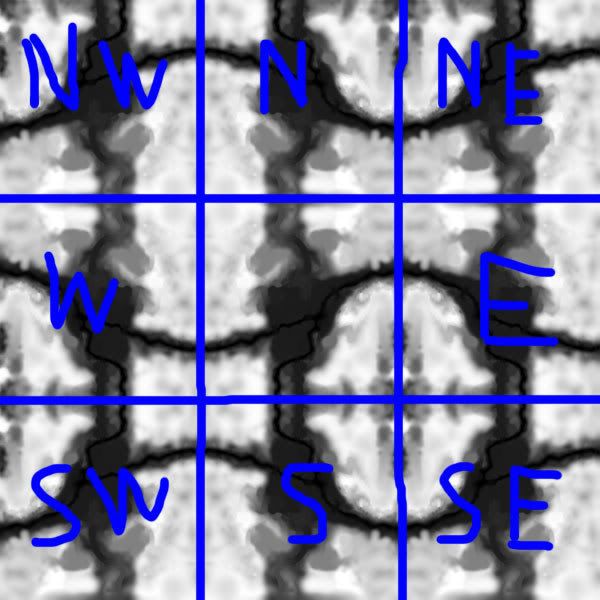
Make a new map in WiCED called "heightedit" or something similar and import one of the heightmaps (using west as example).
Editing Terrain
Use the WiCED terrain tools to edit the map until you are happy, then save the map and make a copy of the heightmap for later. Repeat this for all eight surrounding heightmaps.
NOTE: be sure not to change the edge of the map which connects to the main map.
NOTE 2: If you change the edges that connect to another surrounding mesh, you will have to change the appropriate heightmap before importing (otherwise you'll have a gap between meshes).
Back to Photoshop
Importing Heightmaps
Once all the meshes are done, import them into Photoshop and align them as shown. Then save as a raw file 1539x1539 (using the same settings as before).
Back to WiCEd
Importing Surround Meshes
Open your map in WiCEd and import the 1539x1539 raw file as a surround mesh (File->Import->Surround Mesh, Import Heightmap).
Note: You can use the transition length slider to smooth the transition from map to surround mesh if needed (Settings->Surround Mesh Settings).
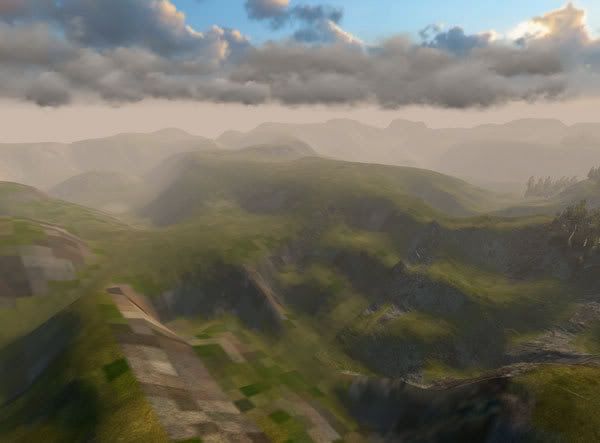
Final Result
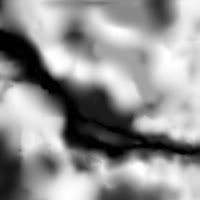
As you can see, it works reasonably well (looking west)
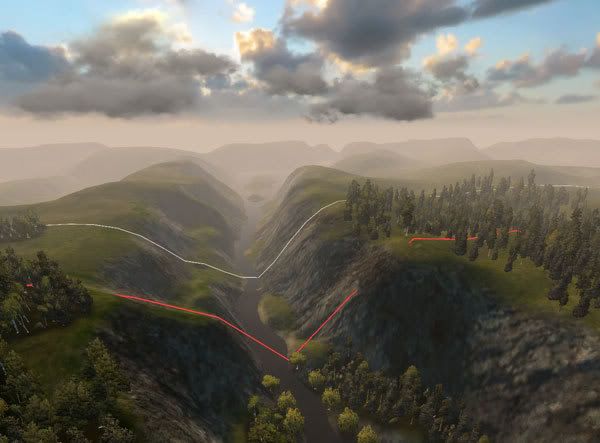
Lake in the south west corner (with an unfinished road in the foreground)
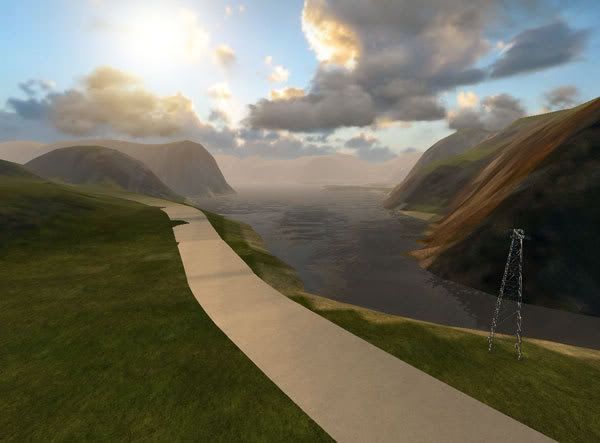
Mesh transitions are reasonably seamless (map transitioning to se,s,sw)
If you look closely, there is a small gap between the main mesh and the surround mesh. However this is impossible to see with the standard game camera (I believe this is deliberate on Massive's part as the surround mesh has a much lower polygon count than the main mesh and therefore cannot possibly follow the main mesh's boarders exactly).
Final Bits
All done then... phew. Hopefully this tutorial is useful to those who don't want to use 3D modeling software to create a simple surrounding mesh.
Remember to render the texture on the mesh once your done!
- Gozeus
